1. Planning Your Pipe Installation
Every plumbing job starts with a detailed plan. First, determine the type of pipes you need. Copper, PEX, and PVC are the most common options. For hot water, copper and PEX work best. PVC suits cold water and drainage. Measure distances between fixtures and main supply lines. Sketch a diagram of your layout. This prevents confusion during installation. Mark pipe routes on walls or floors with chalk. Avoid running pipes near electrical lines. Calculate how many fittings and supports you need. Purchase extra elbows and couplings just in case. Read local plumbing codes before starting. They may require permits or specific materials. Choose quality tools like a pipe cutter, wrench, and torch. Good preparation ensures fewer problems later. Set aside enough time for the project. Rushing leads to leaks and alignment issues. Organize your tools in a clean, dry space. A plan saves money, time, and frustration.
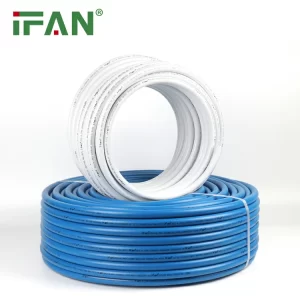
2. Choosing the Right Pipe Material
Now that you’ve planned the layout, choose the best pipe material. Copper pipes last long and resist bacteria. However, they cost more and need soldering. PEX pipes flex easily and resist freezing. They’re also quick to install with crimp rings. PVC pipes offer low cost and easy cutting. But they can’t carry hot water. Use CPVC for hot water in plastic systems. Consider your skill level and budget. If you’re new, PEX makes installation easier. For visible areas, copper looks more professional. Always buy pipes and fittings from reliable suppliers. Check labels for pressure and temperature ratings. Mix materials only with approved connectors. Don’t connect copper directly to galvanized steel. That causes corrosion over time. Use dielectric unions to separate metals. Match pipe diameters for consistent water pressure. Choosing the right pipe prevents costly repairs later. Read product manuals and follow manufacturer recommendations.
3. Measuring and Cutting Pipes
Precise measurement makes or breaks a good installation. Start by measuring the exact length needed between fittings. Use a tape measure and mark the pipe with a pencil. Always double-check measurements before cutting. Use a pipe cutter for clean, square edges. For copper, rotate the cutter until the pipe snaps. For PEX, use a sharp scissor-style cutter. PVC needs a fine-tooth saw or ratcheting cutter. Remove burrs and rough edges with sandpaper or a deburring tool. This ensures tight-fitting joints without leaks. Dry-fit the pipes to confirm proper length and alignment. Label each section to avoid mix-ups. Never cut pipes too short—leave room for adjustments. Clean the work area regularly to prevent mistakes. Proper cutting and measuring simplify the rest of the job.
4. Assembling the Pipe System
After cutting, begin assembling the pipe system. Start from one end and move systematically. For copper, clean ends with emery cloth. Apply flux before inserting fittings. Use a propane torch to heat the joint. Then feed solder into the seam for a tight seal. For PEX, slide a crimp ring over the pipe. Insert the fitting fully and position the ring. Use a crimp tool to secure it tightly. Check the crimp with a gauge for proper size. For PVC, apply primer to both the pipe and fitting. Then apply PVC cement and push them together. Hold for 30 seconds to ensure bonding. Continue joining sections until the system is complete. Use supports every few feet to prevent sagging. Make sure all fittings face the correct direction. Label hot and cold water lines clearly. Avoid twisting pipes into place—it weakens the joints. Assembling the system carefully ensures strong, leak-free plumbing.
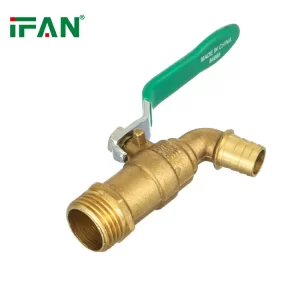
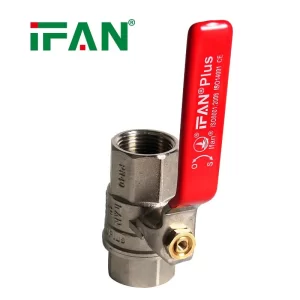
5. Securing Pipes and Making Connections
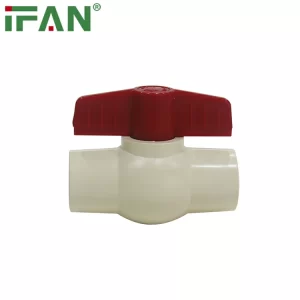
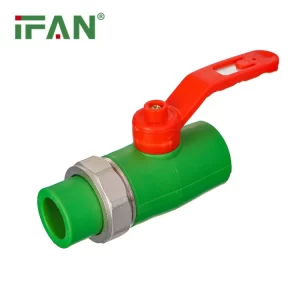
Once assembled, secure pipes in place. Use pipe straps or brackets every 3 to 5 feet. For vertical runs, add support near every floor level. Don’t overtighten brackets—leave room for expansion. For copper pipes, use plastic clips to reduce noise. Avoid contact with metal studs to prevent wear. Seal pipe holes with caulk or foam to reduce vibration. Install shut-off valves near major fixtures. This allows future repairs without shutting off the whole house. Connect pipes to existing systems using unions or adapters. Always turn off the water before connecting. Tighten joints with wrenches, but don’t overdo it. Test each connection by hand to ensure it’s firm. Wrap threaded joints with plumber’s tape before tightening. Check for alignment before securing everything. Secure pipes behind walls using brackets or clamps. Well-supported pipes extend system life and reduce noise.
6. Testing for Leaks
Now, test your installation before sealing walls or flooring. Slowly turn on the water supply. Check each joint and fitting for signs of moisture. Use a dry cloth to detect small leaks. If leaks appear, shut the water and retighten joints. Replace faulty fittings immediately. For PEX, cut and recrimp the connection. For threaded joints, rewrap the tape and reconnect. If all joints stay dry after five minutes, move to the next section. Open faucets to flush out debris. Check pressure and flow at every outlet. If one fixture has low flow, inspect the pipe for blockage. Keep water running for several minutes. This helps you confirm stability under full pressure. Accurate testing avoids costly fixes later. Record the test results for future reference. Clean the workspace once tests are complete.
7. Insulating and Final Adjustments
With a leak-free system, move to insulation and final touches. Wrap foam sleeves around exposed pipes. This prevents freezing in cold areas. Use tape or zip ties to secure insulation. For copper pipes, use fiberglass wrap for heat retention. Insulate pipes in basements, crawlspaces, and exterior walls. Seal all wall openings around pipes to block drafts. Label pipes with colored tape or stickers for easy identification. Make final valve adjustments to control water flow. Ensure hot and cold water lines function properly. Adjust pipe positions for easier access if needed. Cover visible holes in walls or floors neatly. Replace wall panels or tiles removed during installation. Double-check all connections before closing access panels. Clean tools and return them to storage. Review your plan to ensure all steps are complete. Proper insulation and adjustment boost system efficiency.
8. Maintenance Tips After Installation
Congratulations! The system is complete—but regular maintenance keeps it in top shape. Inspect visible pipes monthly for drips or stains. Tighten loose fittings before they worsen. Flush the system once every six months to remove sediment. Open each valve briefly during flushing. Check water pressure using a simple gauge. If pressure drops, inspect the main line and valves. Clean aerators on faucets to maintain flow. Use vinegar to dissolve mineral deposits. Re-inspect insulation every season. Replace worn foam sleeves promptly. Listen for unusual pipe noises while using water. Sudden clanking or whistling signals loose pipes or air pockets. Keep emergency tools nearby, including a wrench and shut-off key. Update a plumbing log to track fixes and upgrades. A well-maintained system lasts for decades. Share this guide with family members for awareness. Preventative care reduces emergencies and repair bills. Regular checks protect your investment and keep water flowing smoothly.
IFAN Products international standards
IFAN products strictly adhere to a comprehensive range of international standards, encompassing ISO 15874, EN 15874, ASTM F2389, DIN 8077/8078, GB/T 18742, NBR 15884, ISO 15494, EN ISO 15494, GB/T 19472, NBR 15494, ASTM 2846 (501), DIN 8079/8080 (502), ASTM F441/F441M SCH80 (503), DIN (504), DIN (505), GB/T 18993, AS/NZS 1477, CSA B137.6, NSF/ANSI 14, TIS 17-2532/1131-2535, BS 3505, BS 4346 (801), ASTM D1785 SCH40 (802), ASTM D1785 SCH80 (803), DIN (804), GB (805), GB (806), GB(901), DWV(902), ASTM D2665 (903), along with ASTM D2241, D2665, D2729, and F441/F441M series, ISO 1452, EN ISO 1452, DIN 8061/8062, GB/T 10002, AS/NZS 1477, JIS K6741, CSA B137.3, and other national and industry norms.
Connect
IFAN is a Chinese manufacturer of plastic pipes, fittings and valves with 30 years of experience. If you are interest in IFAN copper fittings, copper valves, plastic pipes and fittings, please contact us. IFAN offers you a variety of standard pipes to meet your specific needs. Click below to learn more about IFAN’s wide range of affordable and cost-effective valve products and piping system related products.
We will reply your email or fax within 24 hours.
You can call us at any time if there is any question on our production.
For more information,pls visit our webside https://waterpipefitting.com/
Pls Mailto: [email protected]
Whatsapp: +86 13325756195