Detailed Steps for PPR Pipe Installation
The installation of polypropylene (PPR) pipes is a popular choice in building potable water and heating systems due to their durability and efficiency. In this article, we will outline the essential steps to install PPR pipes correctly, focusing on the use of the PPR Hot Machiner, a key tool in the process. These steps ensure an efficient and trouble-free installation.
Preparation of Tools and Materials
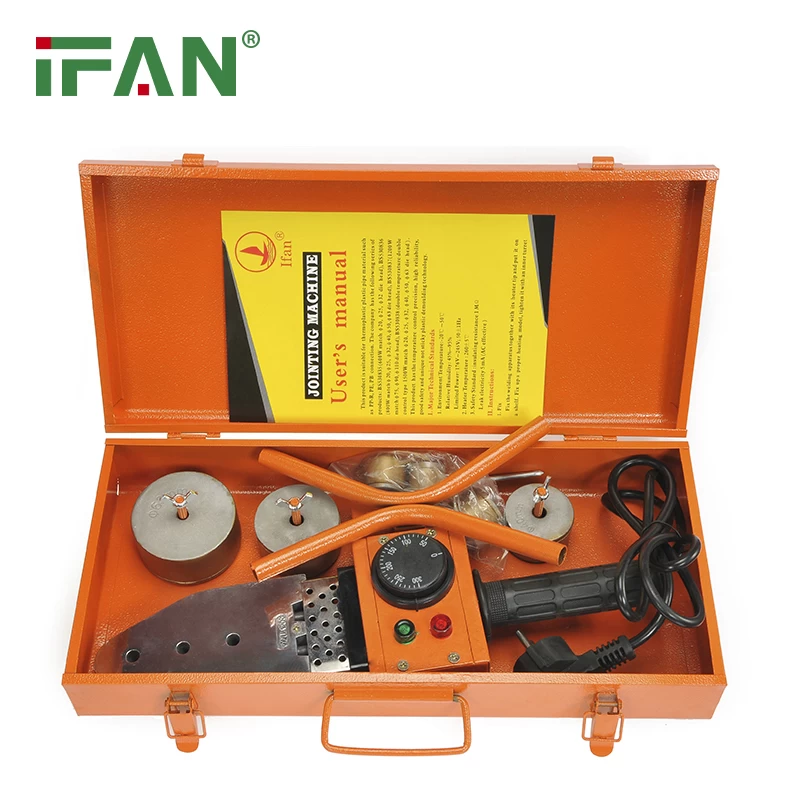
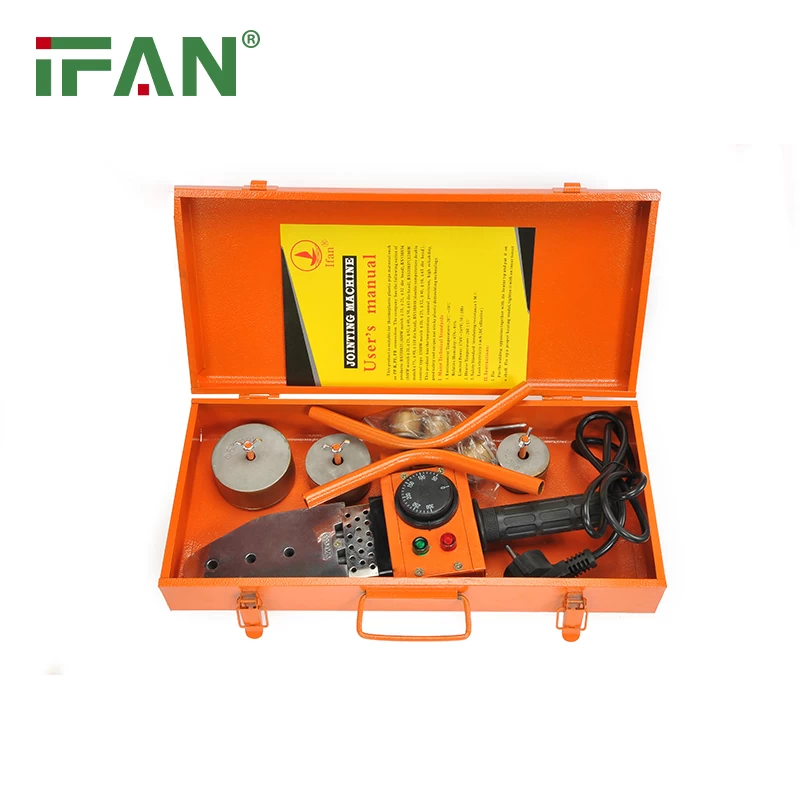
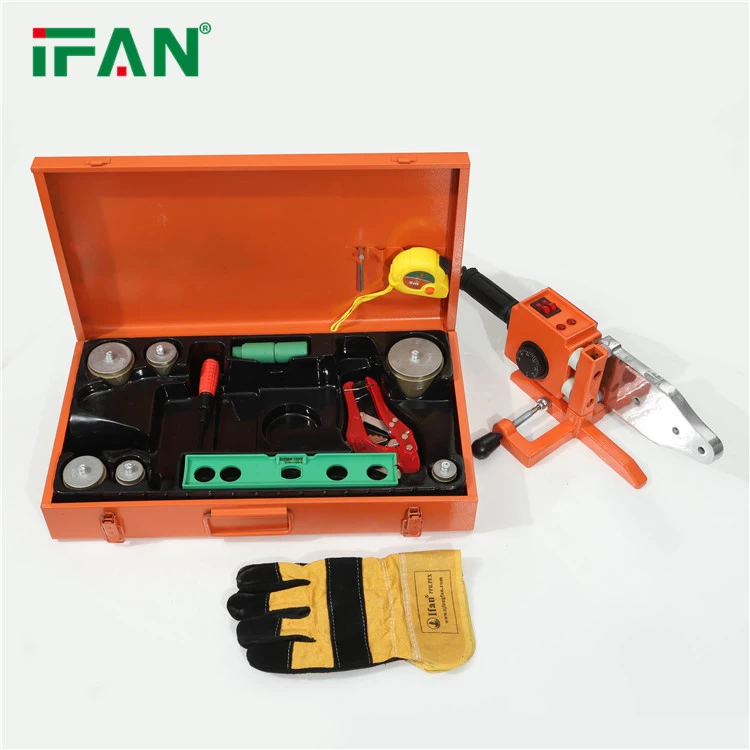
Before starting the installation, it is crucial to gather all the necessary materials and tools. The PPR Hot Machiner is essential for making effective connections. In addition to this tool, you will need PPR pipes, elbows, tees, adapters, and the appropriate sealant. Be sure to have a pipe cutter, measuring tape, and a cleaning brush to prepare the surfaces. Organize all materials near the work area for convenience.
At this stage, also inspect the quality of the materials. The PPR pipes should be free from cracks or defects that could compromise the installation. Check that the PPR Hot Machiner is clean and in good condition to avoid issues during the process.
Measuring and Cutting the Pipes
The next step is to measure and cut the PPR pipes according to the needs of the project. Use a ruler or tape measure to determine the length of each pipe section. Mark the cutting lines with a pencil and ensure the cuts are straight. An uneven cut can affect the quality of the connections.
To cut the pipes, use a specialized saw for PPR. This type of saw prevents the cutting edges from getting damaged. As you cut, ensure the edges are smooth and clean. It is important to make precise cuts, as poor alignment can lead to leaks or difficulties when making the joints.
Cleaning the Surfaces
Before proceeding with the connections, clean the surfaces of the pipes and fittings. Cleaning is essential to ensure a strong and durable connection. Use a brush or a clean cloth to remove dust, grease, and other impurities. The contact surfaces should be completely dry before applying heat.
For the connections, it is recommended that the surfaces of the pipes and fittings are free from any type of dirt or moisture. This will prevent the joining material from adhering incorrectly, which could result in leaks. The PPR Hot Machiner is effective in ensuring the heat is applied uniformly to the cleaned surfaces.
Heating with the PPR Hot Machiner
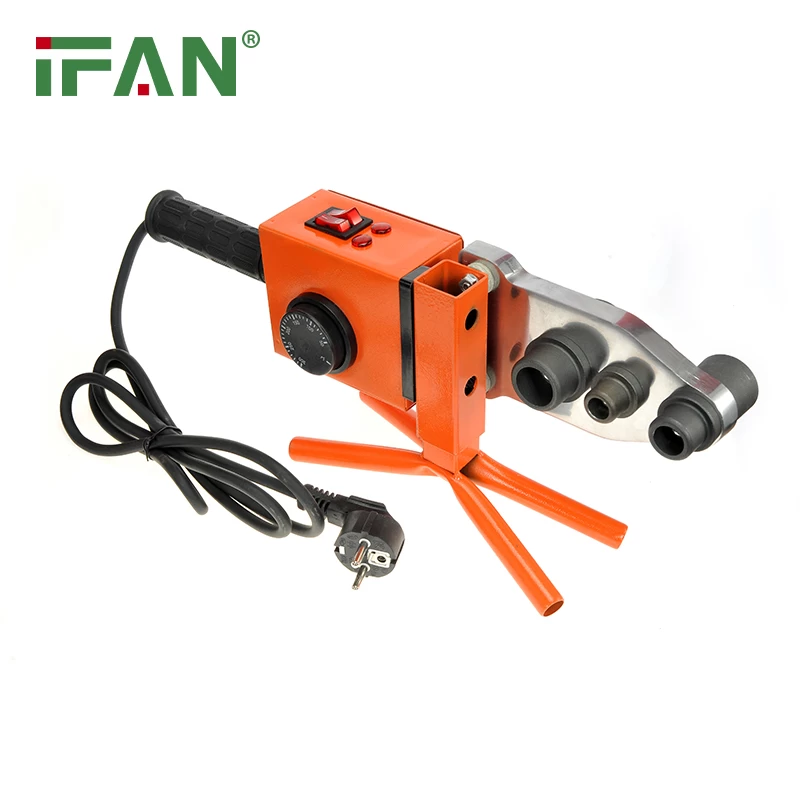
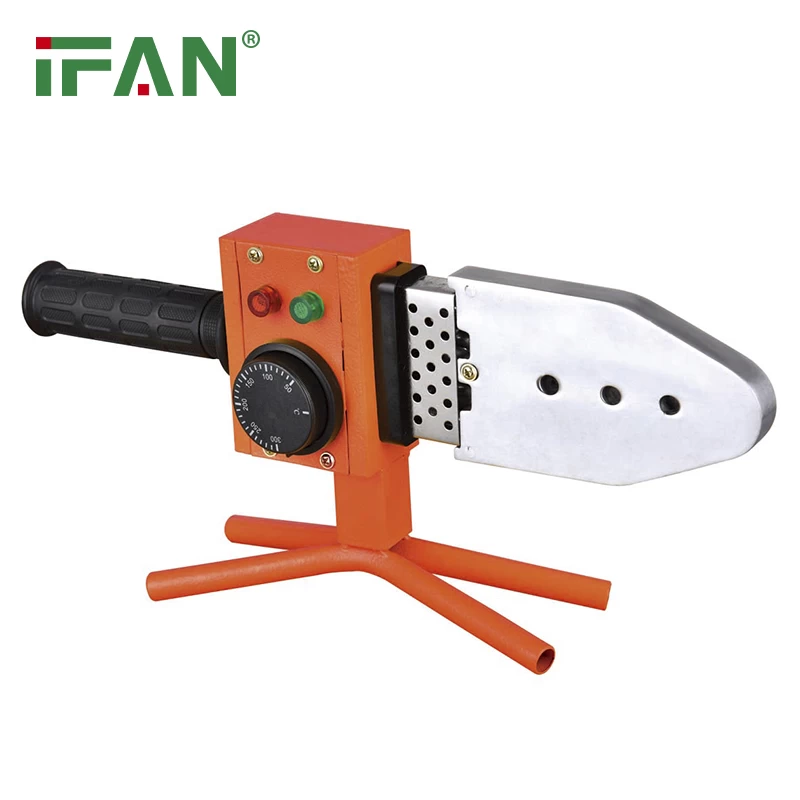
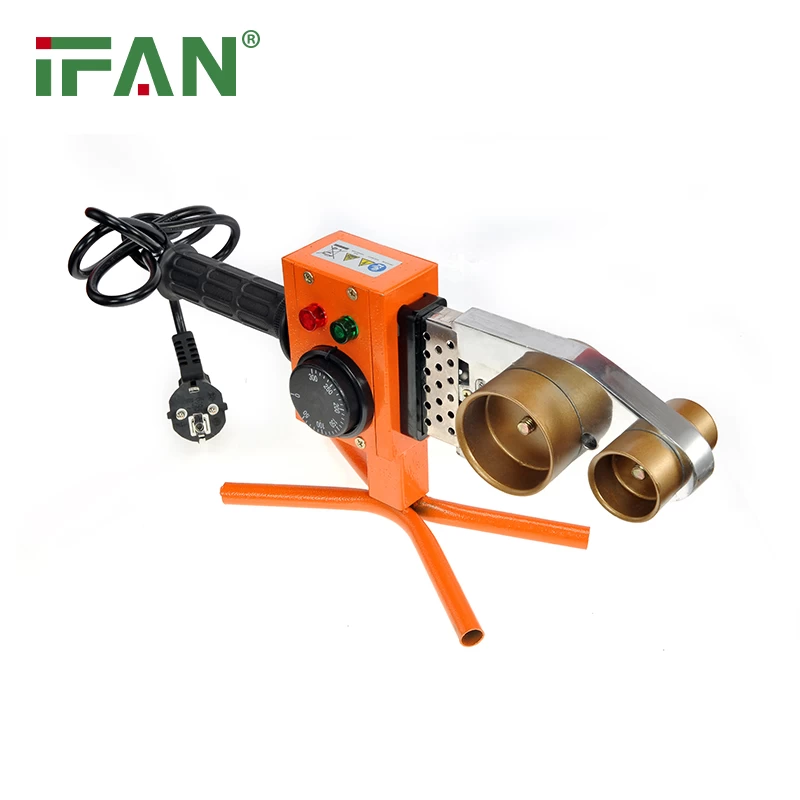
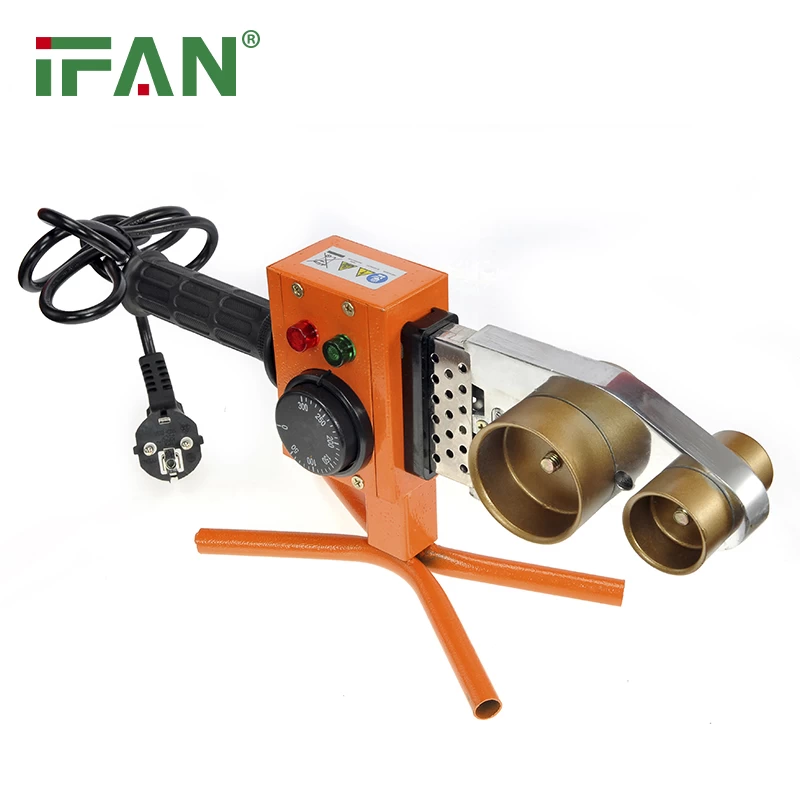
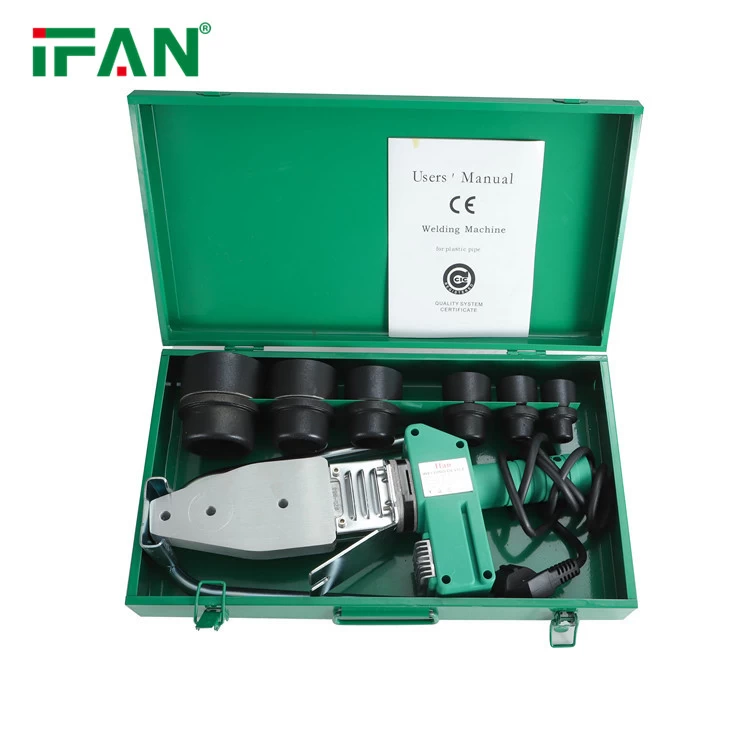
The PPR Hot Machiner is the main tool used for making PPR pipe connections. Turn on the machine and adjust the temperature according to the pipe manufacturer’s specifications. Typically, the ideal fusion temperature is around 260°C, but always check the manufacturer’s recommendations.
Insert the pipe sections and fittings into the heating pieces of the PPR Hot Machiner. Ensure that the pieces are fully inserted and maintain them in the machine for the recommended amount of time to avoid insufficient or excessive heating. Incorrect heating can compromise the quality of the joint.
Making the Connections
Once the pieces are properly heated, remove them from the PPR Hot Machiner and quickly join them. Place the heated fitting and pipe in their correct position firmly and straight. Hold the pieces together for a few seconds to allow them to cool and adhere properly.
It is crucial that there is no movement during the cooling process. Any shifting can affect the connection and lead to future leaks. Ensure the connections are secure and there are no gaps between the pipe and the fitting.
Verifying the Quality of the Connections
Once all the connections have been made, it’s time to verify their quality. Visually inspect each of the joints. Ensure there are no signs of overheating or deformation on the pipes. If you notice any irregularities, it may be necessary to undo the connection and repeat the process.
To ensure the connections are strong and secure, perform a pressure test. This involves applying pressure to the pipe system to check for leaks. If no leaks are detected during the test, the joints have been made correctly.
Installing the Pipe in the Designated Area
Once the connections are ready, you can proceed with installing the pipes in the designated space. Lay the pipes in such a way that they follow the planned path, ensuring there are no obstructions or areas that may cause damage to the pipes.
Secure the pipes to the floor or walls using the appropriate supports to prevent them from moving. If the pipes are long, make sure they are properly fastened to avoid any twisting or bending. The use of the PPR Hot Machiner ensures that all joints are well made and resistant to pressure, making installation easier and preventing long-term problems.
Final Testing and Maintenance
To complete the installation, perform a final test of the entire system. Ensure that the water or heating flow is adequate and that there are no leaks in any part of the system. If everything is in order, your PPR pipe installation will have been a success.
Remember that regular maintenance of the pipes is essential to prolong their lifespan. Periodically inspect the connections and make sure there are no signs of wear or damage. If you ever need to perform repairs, the PPR Hot Machiner can be useful for undoing old joints and making new connections efficiently.

